How to Select Printable Area in Excel
Excel is a powerful tool that allows users to organize data, perform calculations, and create visually appealing charts. One of the key features of Excel is the ability to print worksheets. However, sometimes it can be tricky to select the printable area in Excel, especially if you want to customize the layout. In this article, we will explore how to select the printable area in Excel to ensure that your document prints exactly as you want it to.
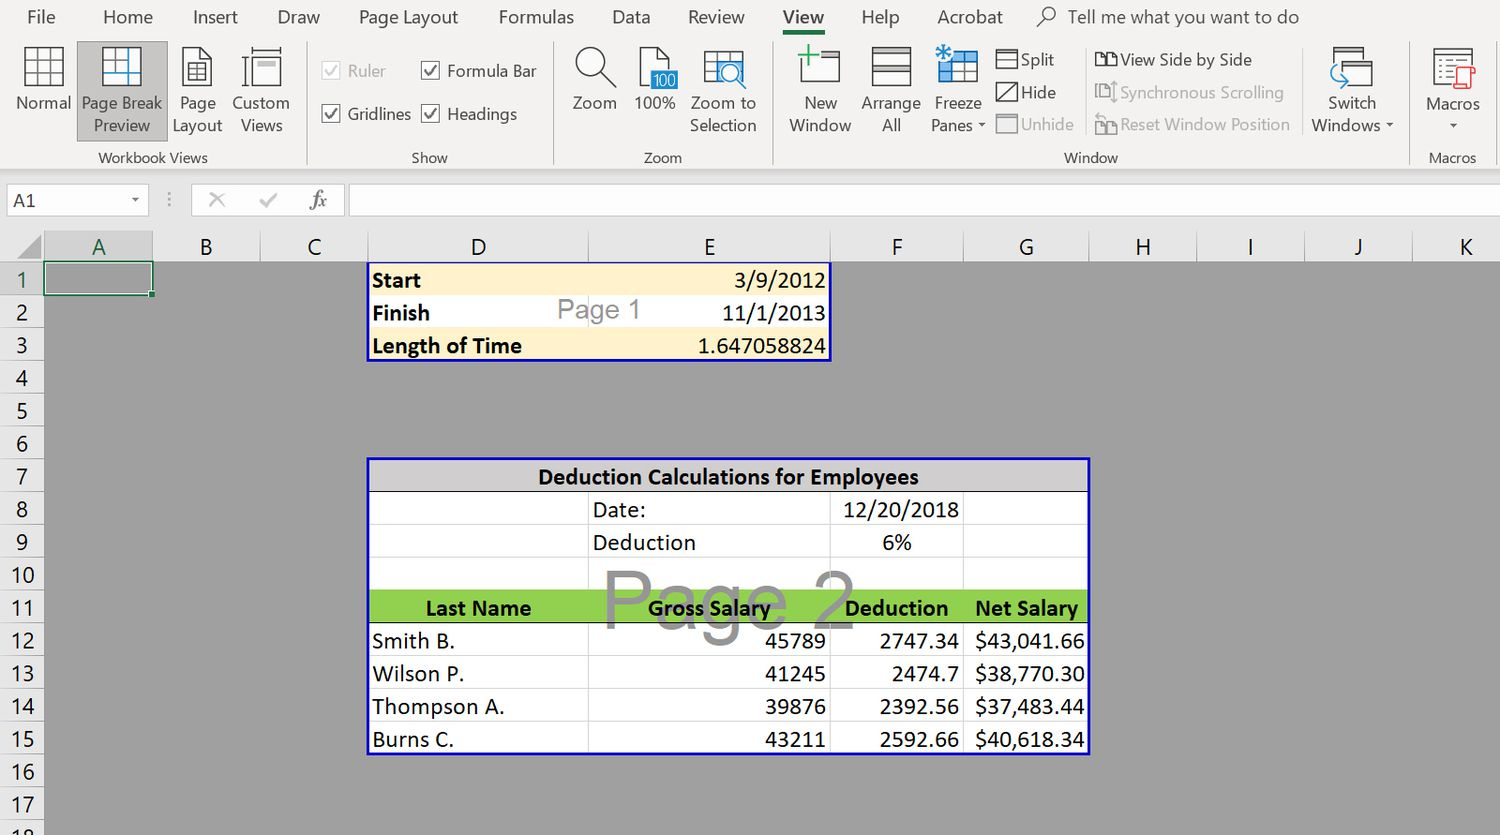
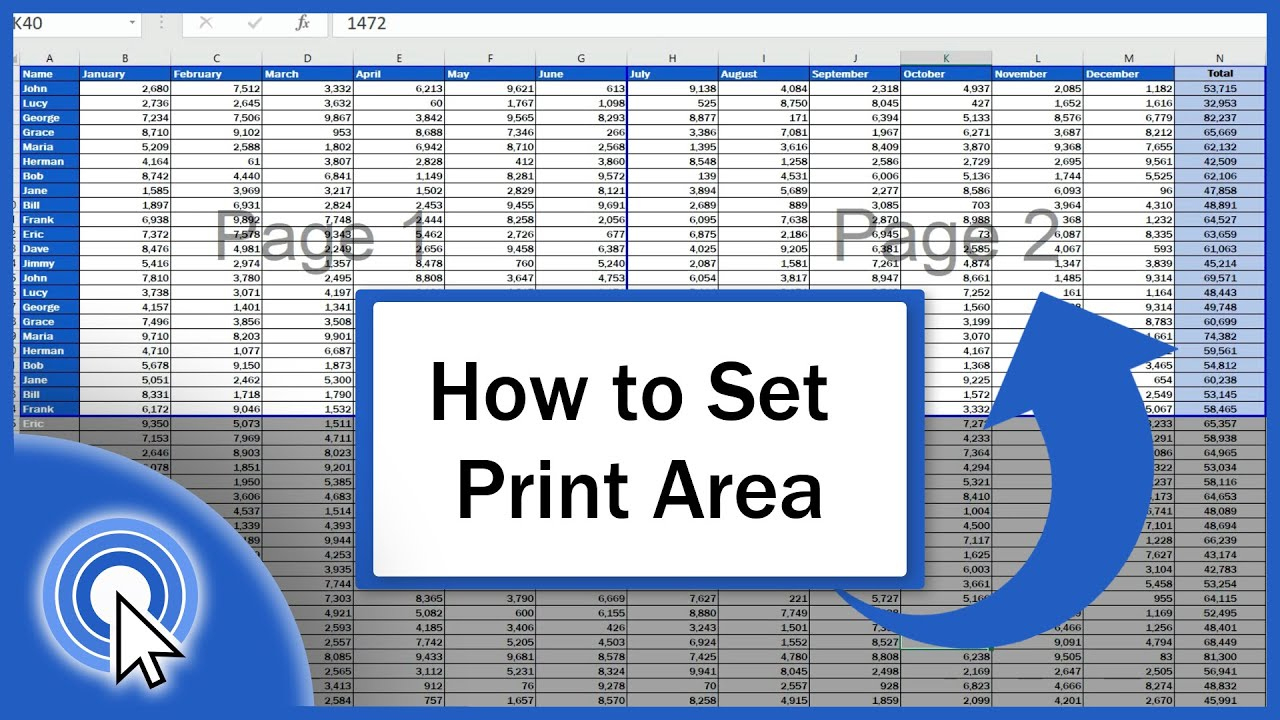
When it comes to selecting the printable area in Excel, there are a few key things to keep in mind. The printable area is the portion of the worksheet that will be printed, so it’s important to make sure that you have selected the correct range before printing. To select the printable area in Excel, you can use the Print Area feature. This feature allows you to define the specific range of cells that you want to print, ensuring that only the selected area will be included in the printout.
Customizing the Printable Area
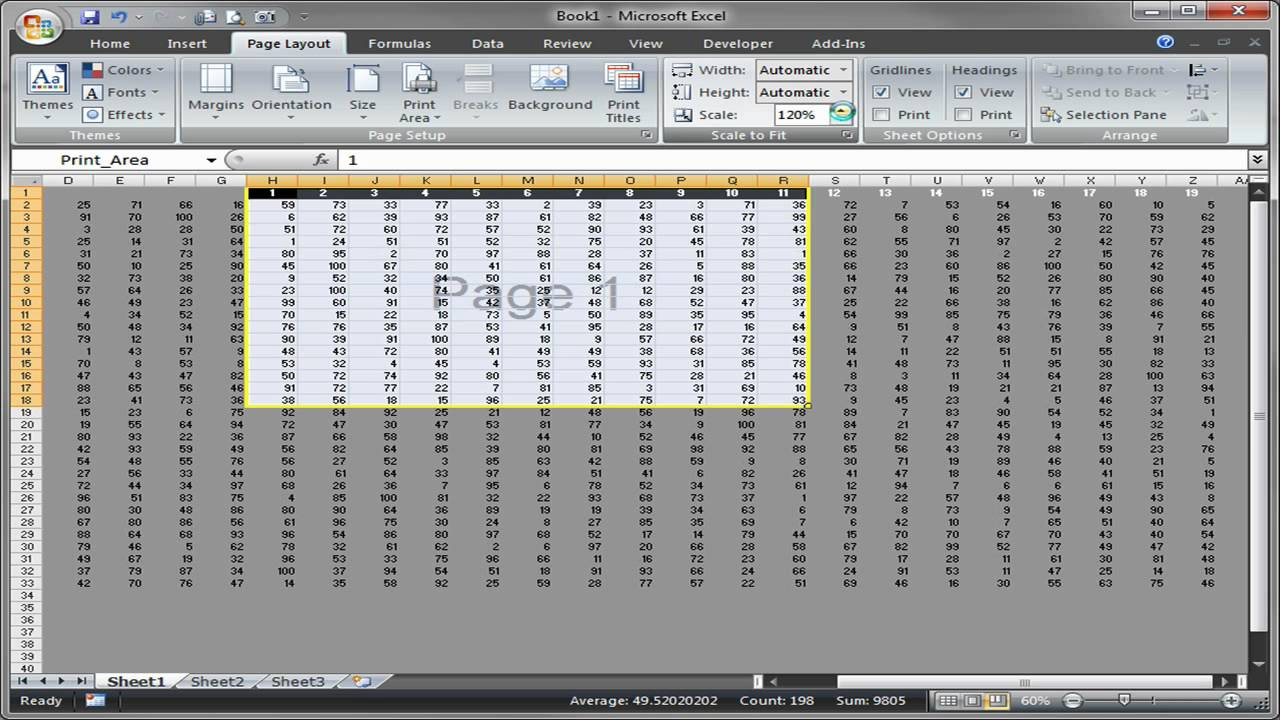
If you want to customize the printable area in Excel, you can easily do so by adjusting the print settings. To do this, first select the range of cells that you want to include in the printable area. Then, go to the Page Layout tab and click on the Print Area dropdown menu. From here, you can choose Set Print Area to define the selected range as the printable area. You can also clear the print area by selecting Clear Print Area if you want to print the entire worksheet.
In addition to setting the print area, you can also customize the layout of the printable area in Excel. For example, you can adjust the page orientation, margins, and scaling options to ensure that your document prints exactly as you want it to. By experimenting with these settings, you can create a professional-looking printout that fits your specific needs. Remember to preview your document before printing to ensure that the layout is correct and make any necessary adjustments.
Printing Multiple Areas
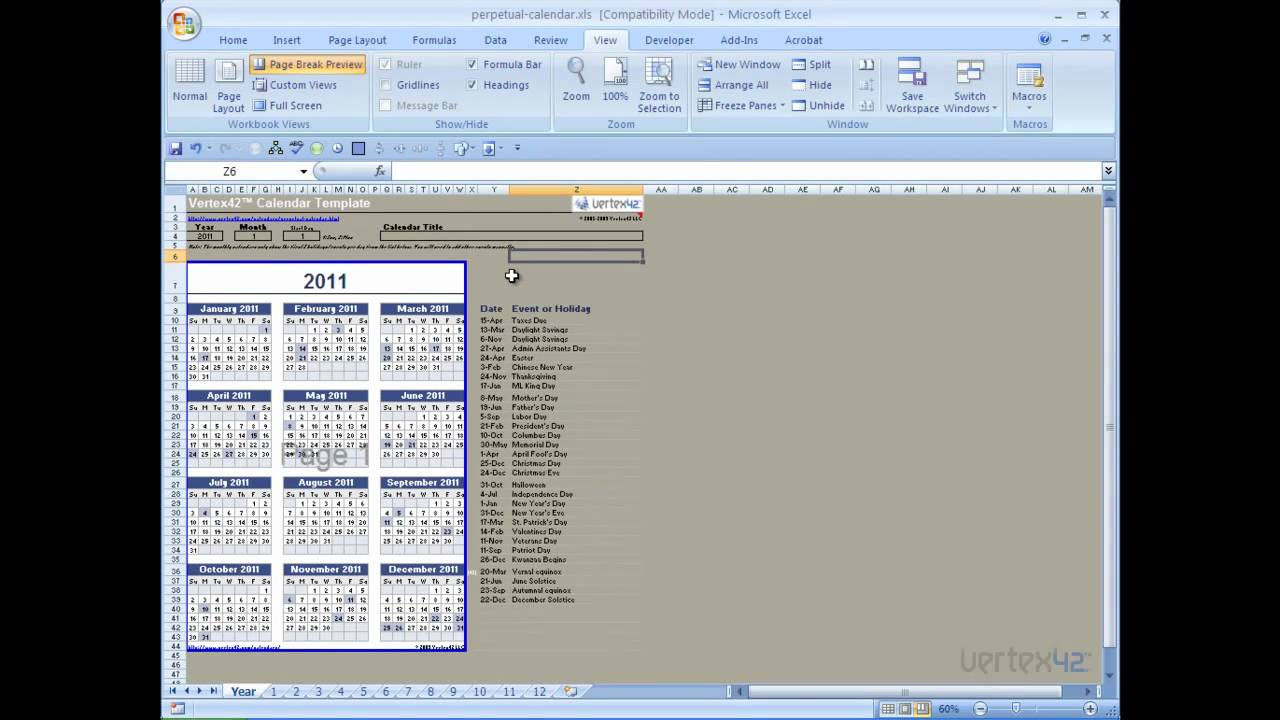
Another useful feature in Excel is the ability to print multiple areas on a single page. This can be especially helpful if you want to print different sections of a worksheet on a single sheet of paper. To print multiple areas in Excel, you can use the Print Titles feature. This feature allows you to define rows or columns that will be repeated on each page of the printout. By setting print titles, you can ensure that the important information is always visible, even if the worksheet spans multiple pages.
To set print titles in Excel, go to the Page Layout tab and click on the Print Titles option. Here, you can specify rows to repeat at the top of each page and columns to repeat on the left side of each page. This can be helpful for ensuring that headers or labels are included on each page of the printout. By utilizing the print titles feature, you can create a cohesive and organized printout that is easy to read and understand.
Related Printables..
Copyright Notice: The images contained on this site are sourced from what we believe to be the public domain or are used for editorial purposes in good faith. Notwithstanding, we acknowledge that some content may inadvertently be the property of a third party. If you hold a copyright to any material found here and have an objection to its presence, you must provide a written notice containing specific identification of the work and your contact information. Upon verification, we will ensure the infringing material is removed expeditiously.
How to Select Printable Area in Excel